Deploying a DHCP relay agent
The DHCP relay service allows you to pass DHCP broadcast messages to network segments that a client computer is not directly attached to. DHCP relaying can be used to share a single DHCP server across logical network segments that are separated by a firewall. The DHCP relay service does not handle IP addresses. It sends unicast messages instead of broadcast messages.
If you opt to create a centralized or hybrid DHCP infrastructure, you will need a DHCP relay agent on every subnet that does not have a DHCP server on it. Many routers are capable of functioning as DHCP relay agents, but in situations where they are not, you can config¬ure a Windows Server 2012 computer to function as a relay agent by using the following procedure.
Steps:
- Log on to Windows Server 2012 using an account with Administrative privileges. The Server Manager window opens.

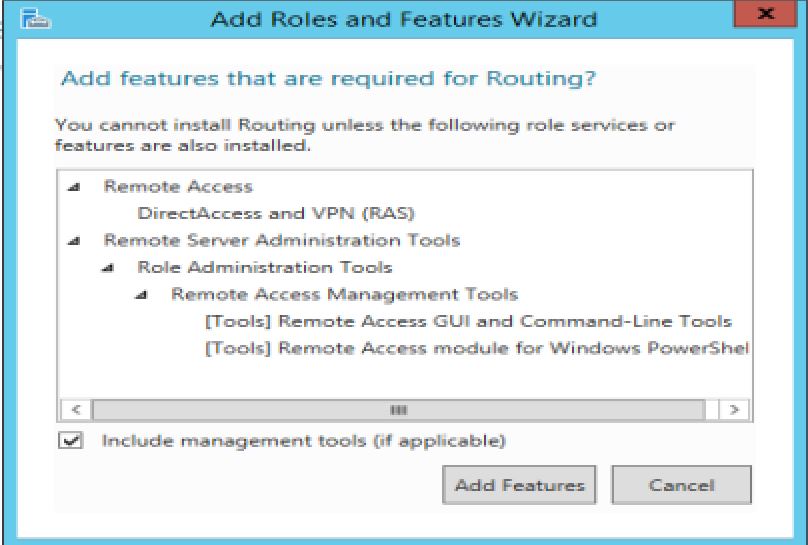
- Using the Add Roles and Features Wizard, install the Remote Access role, including the Routing role service.


- Click Open The Getting Started Wizard. The Configure Remote Access Getting Started Wizard opens.

- Click Deploy VPN Only. The Routing And Remote Access console appears.
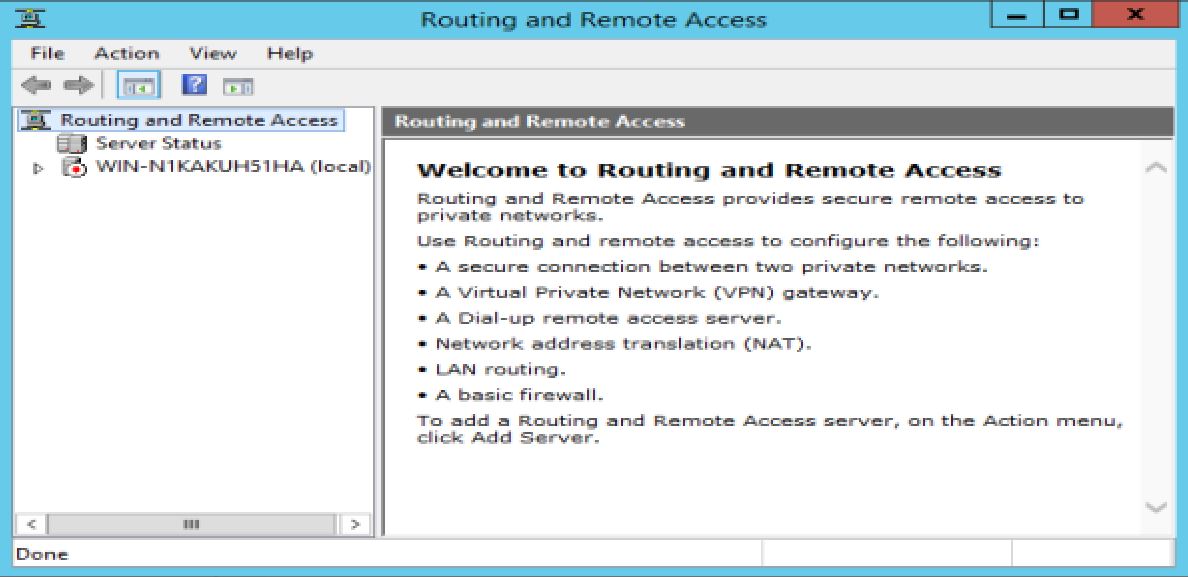
- Right-click the server node and, on the shortcut menu, select Configure And Enable Routing And Remote Access. The Routing and Remote Access Server Setup Wizard appear.

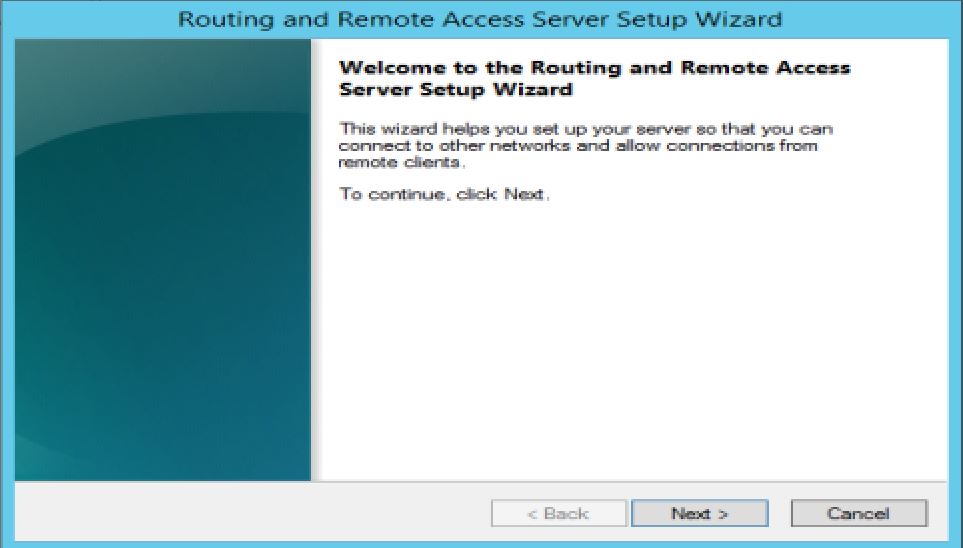
- Click Next to bypass the Welcome page. The Configuration page opens, as shown in Figure.

- Select Custom Configuration and click Next. The Custom Configuration page opens.

- Select the LAN Routing check box and click Next. The Completing The Routing And Remote Access Server Setup Wizard page opens.

- Click Finish. A Routing and Remote Access message box appears, prompting you to start the service.

- Click Start Service.

- Expand the IPv4 node. Then, right-click the General node and, in the shortcut menu, select New Routing Protocol. The New Routing Protocol dialog box appears.


- Select DHCP Relay Agent and click OK. A DHCP Relay Agent node appears, subordinate to the IPv4 node.


- Right-click the DHCP Relay Agent node and, on the shortcut menu, select New Interface. The New Interface For DHCP Relay Agent dialog box appears.


- Select the interface to the subnet on which you want to install the relay agent and click OK. The DHCP Relay Properties sheet for the interface appears.

- Leave the Relay DHCP Packets check box selected, and configure the following settings, if needed.
- Hop-count threshold Specifies the maximum number of relay agents through which DHCP messages can pass before being discarded. The default value is 4 and the maximum value is 16. This setting prevents DHCP messages from being relayed endlessly around the network.
- Boot threshold Specifies the time interval (in seconds) that the relay agent should wait before forwarding each DHCP message it receives. The default value is 4 seconds. This setting enables you to control which DHCP server processes the clients for a particular subnet.
- Click OK.
- Right-click the DHCP Relay Agent node and, on the shortcut menu, select Properties. The DHCP Relay Agent Properties sheet appears, as shown in Figure


- Type the IP address of the DHCP server to which you want the agent to relay messages and click Add. Repeat this step to add additional servers, if necessary.

- Click OK.
- Close the Routing And Remote Access console.
- At this point, the server is configured to relay DHCP messages to the server addresses you specified.
I hope that you will get the idea about deploying a DHCP relay agent. Any queries based on this post are most welcomed. I will make clear for that. Thanks for being on my site.
Wounderful
ReplyDeleteThank you for your valuable comment Upendra...
Delete